WPNinjas HeaderWPNinjas Header

Use OATH TOTP token with Azure MFA

From time to time customers face the issue, that not all employees have or are willing to use their private mobile phone for MFA (SMS, Call or Authenticator App). In that case it is possible to use traditional third-party OATH TOTP tokens. This is now available since more than one year but I have not seen it a lot in use and therefore tried it on my own. To anticipate you will see it is simple to start and also beneficial if you require it only for a small user group.

What is OATH and TOTP?

The initiative of various marked leaders for Open Authentication (OATH) addresses challenges around identity theft and single-sign-on with standard and open technology that is available to all.

The Time-Based One-time Password algorithm (TOTP) is generating one time passwords based on the current time and is used in many systems. So, you can use any device which is an OATH TOTP token and has a 30- or 60-second refresh, that has a secret key of 128 characters or less.

Prerequisites

To use physical OATH TOTP tokens with Azure MFA, you need to have at least an Azure AD Premium P1 plan or any plan which includes this, like:

  • Azure AD Premium 2
  • Enterprise Mobility and Security E3/E5
  • Microsoft 365 E3/E5

Different OATH TOTP types

Classic tokens are non-programmable and need to be registered by the administrator in Azure AD by importing a device list and activating them. After the token is activated it can directly be used by the assigned end-user.

There are also programmable OATH TOTP tokens which can be enrolled like the Microsoft Authenticator or Google Authenticator App. To enroll such a programmable token during the initial enrollment a NFC Burner app, provided by the Manufacturer on a mobile phone, is required.

As you can see the programmable tokens look simpler if the end user can do the enrollment together with IT staff, but not very practicable if you need to be able to send tokens by post to employees or contractors. 

Order and register tokens

First you need to order some test tokens to be able to implement it. I have chosen two non-programmable models from Token2 which are also mentioned on the initial Microsoft blog. After two days I got already my two devices, one is a classic token and the other has a credit card format.

Because I choose  the classic non-programmable tokens, I must request a CSV file from Token2 which works well by submitting my order id and the serial numbers of the devices. If you have large quantities this might be a little bit tedious.

In the CSV file we need to define the designated users with their UPN. Important is to just edit the CSV file with notepad and especially not with Excel.

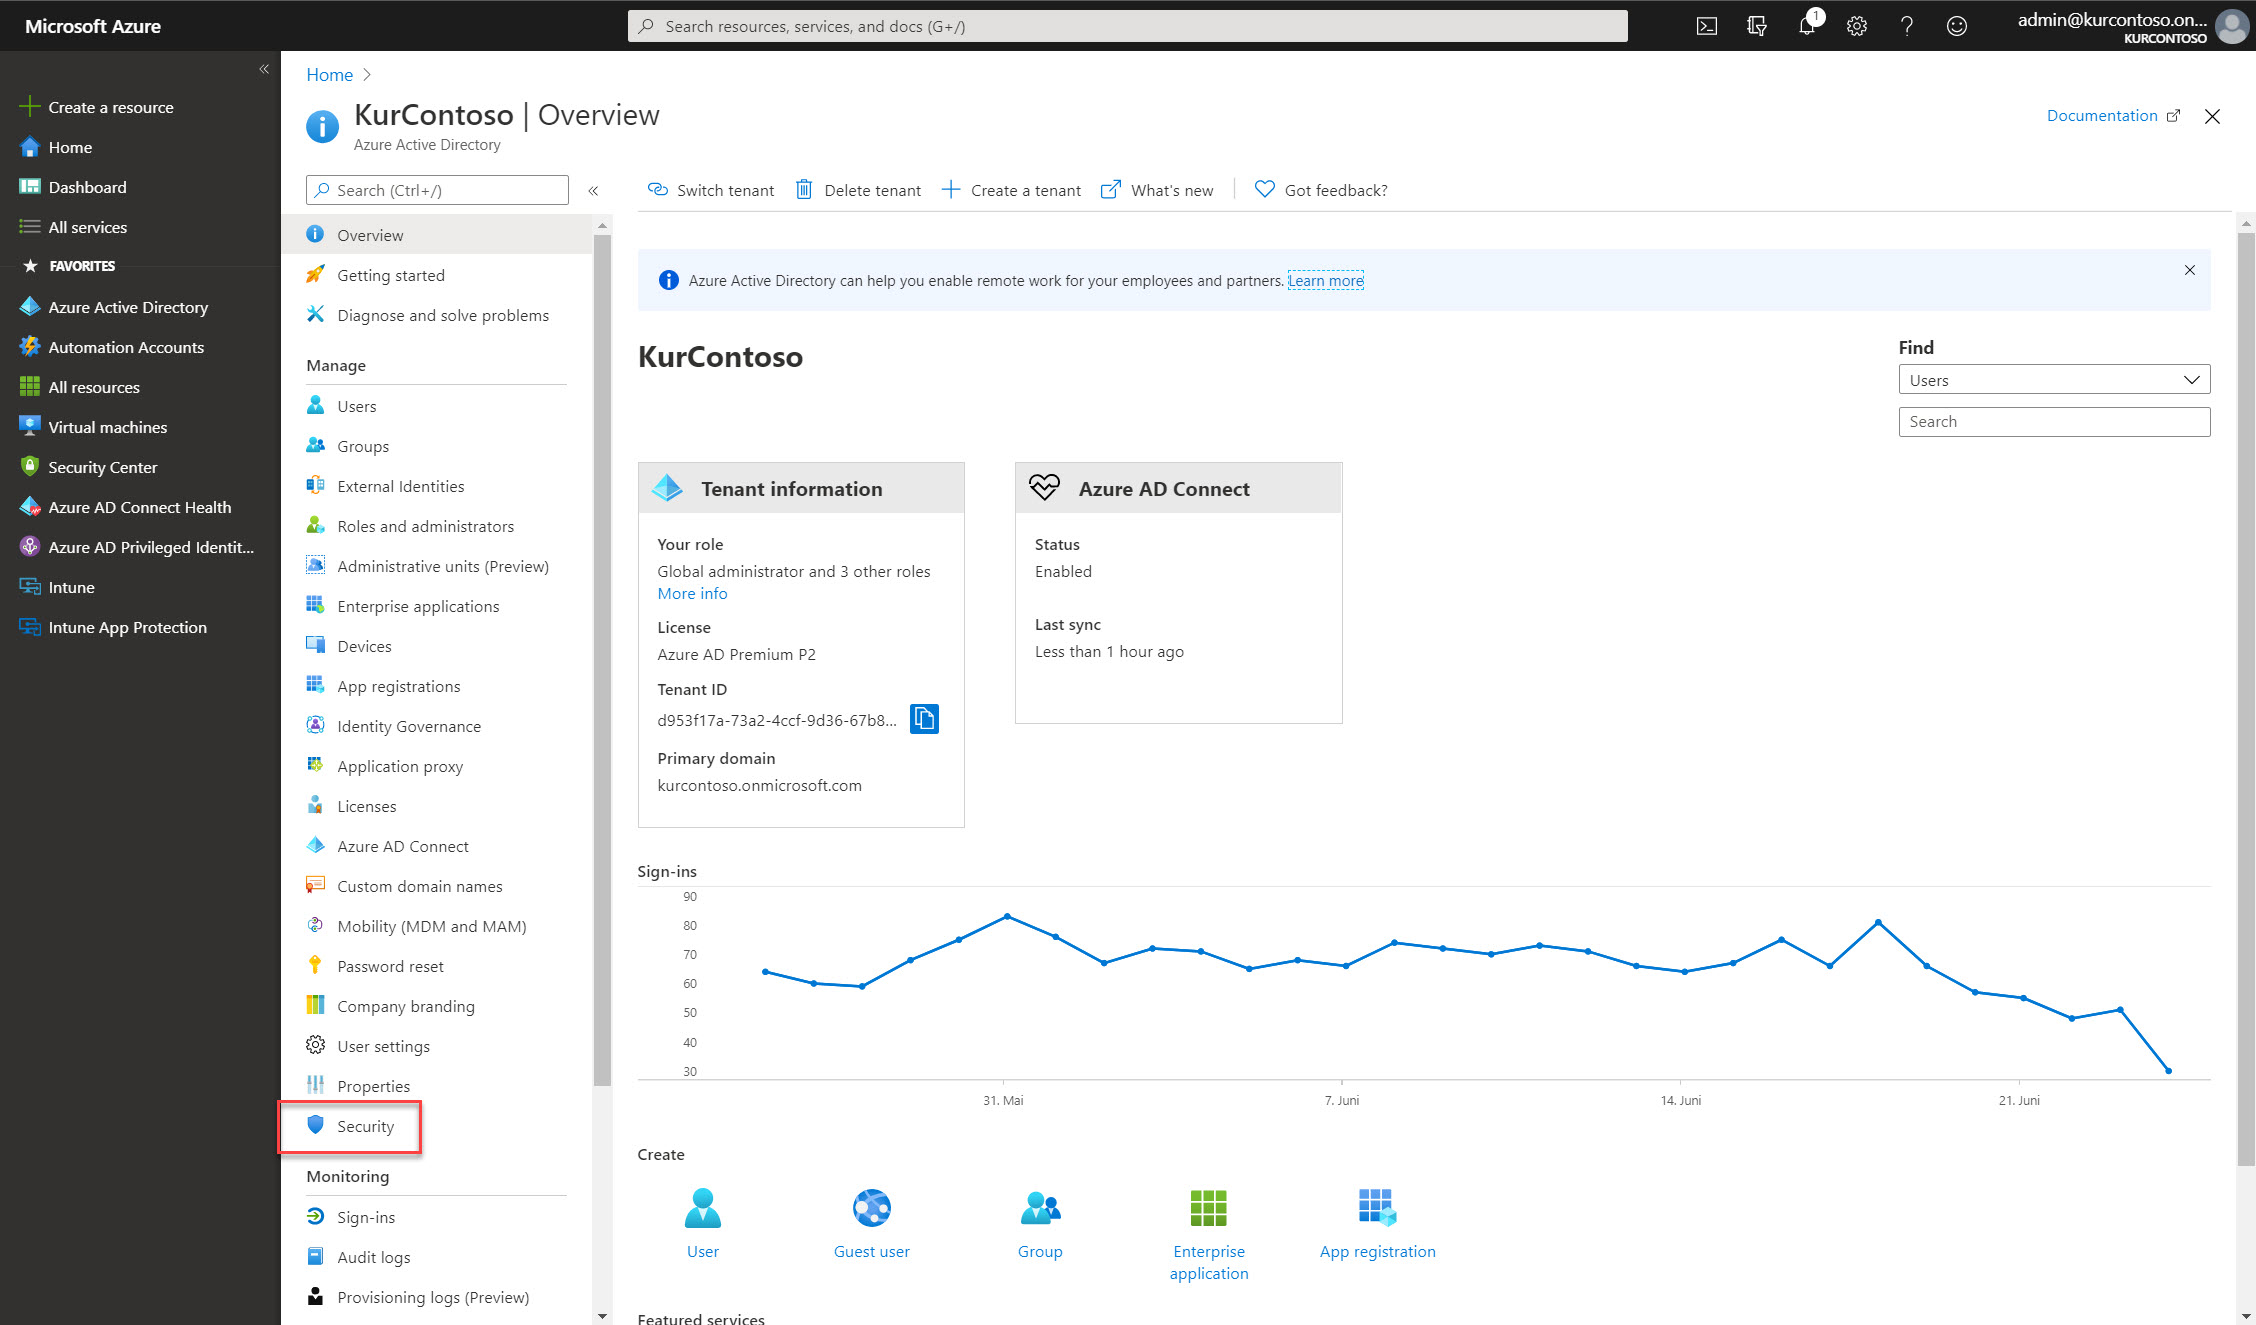
Then navigate to Azure AD and select the Security section.

In the Security section select MFA.

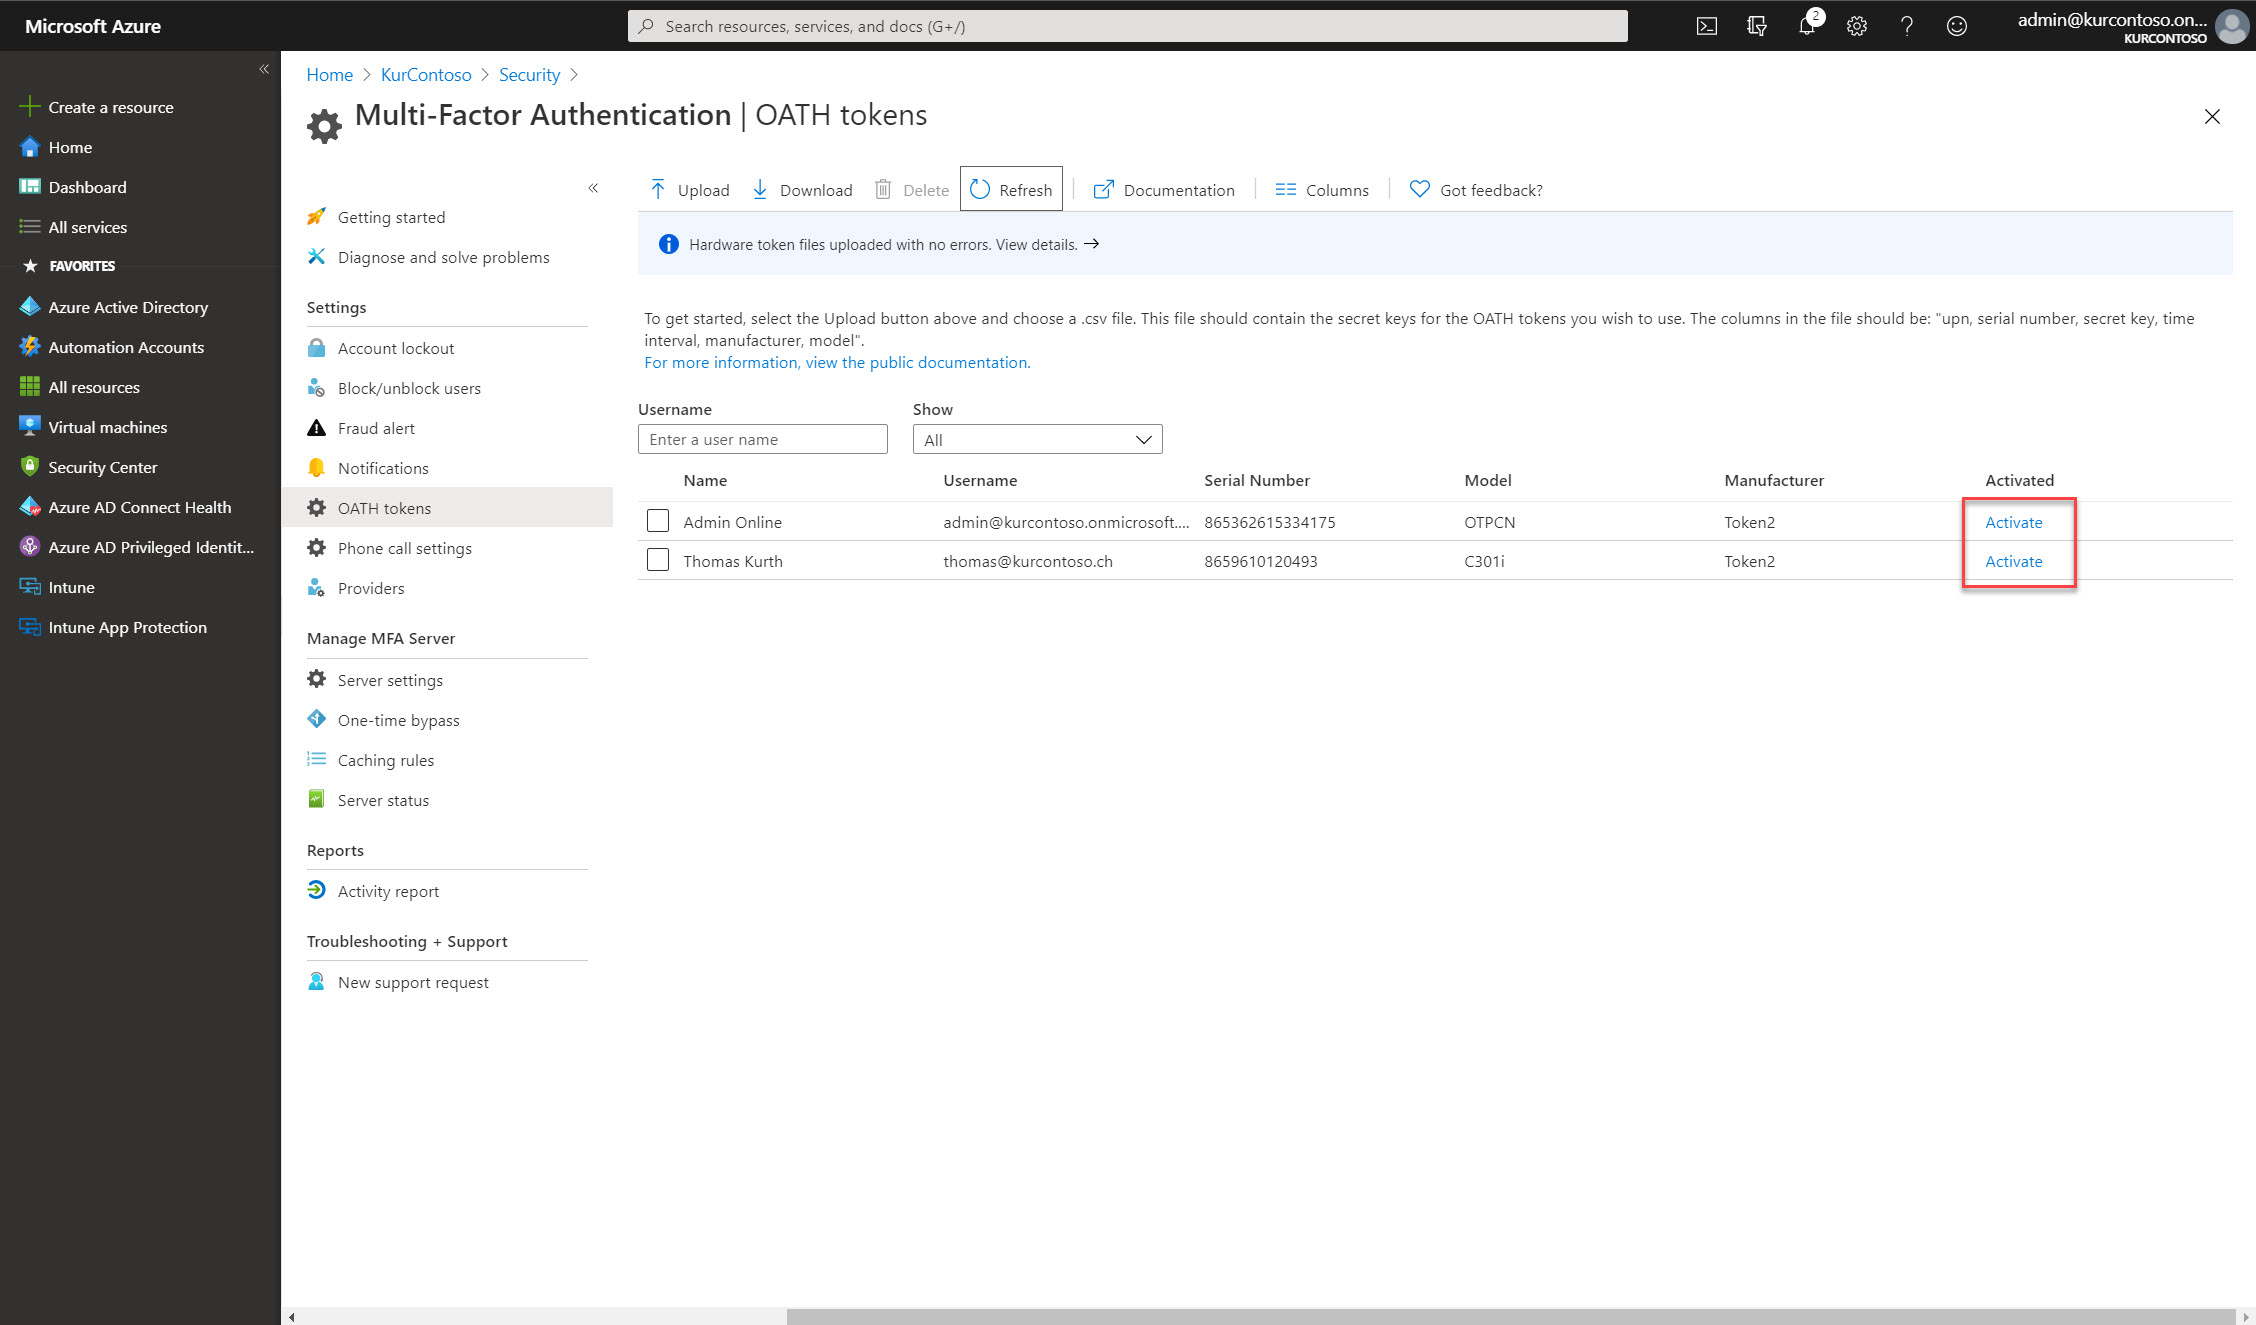
In the MFA section select OATH tokens.

In the now displayed list you can see all registered OATH tokens and upload new ones by selecting Upload and choosing the prepared csv file.

After the upload it can take a short moment depending on the count of uploaded OATH tokens.

Click on Refresh to see if your tokens are already imported.

Now, each token needs to be activated. Click on Activate,

… enter the verification code and click on ok. If you have multiple tokens you can easily find the correct one by using the serial number.

Then the token should be marked as activated.

The sign in process

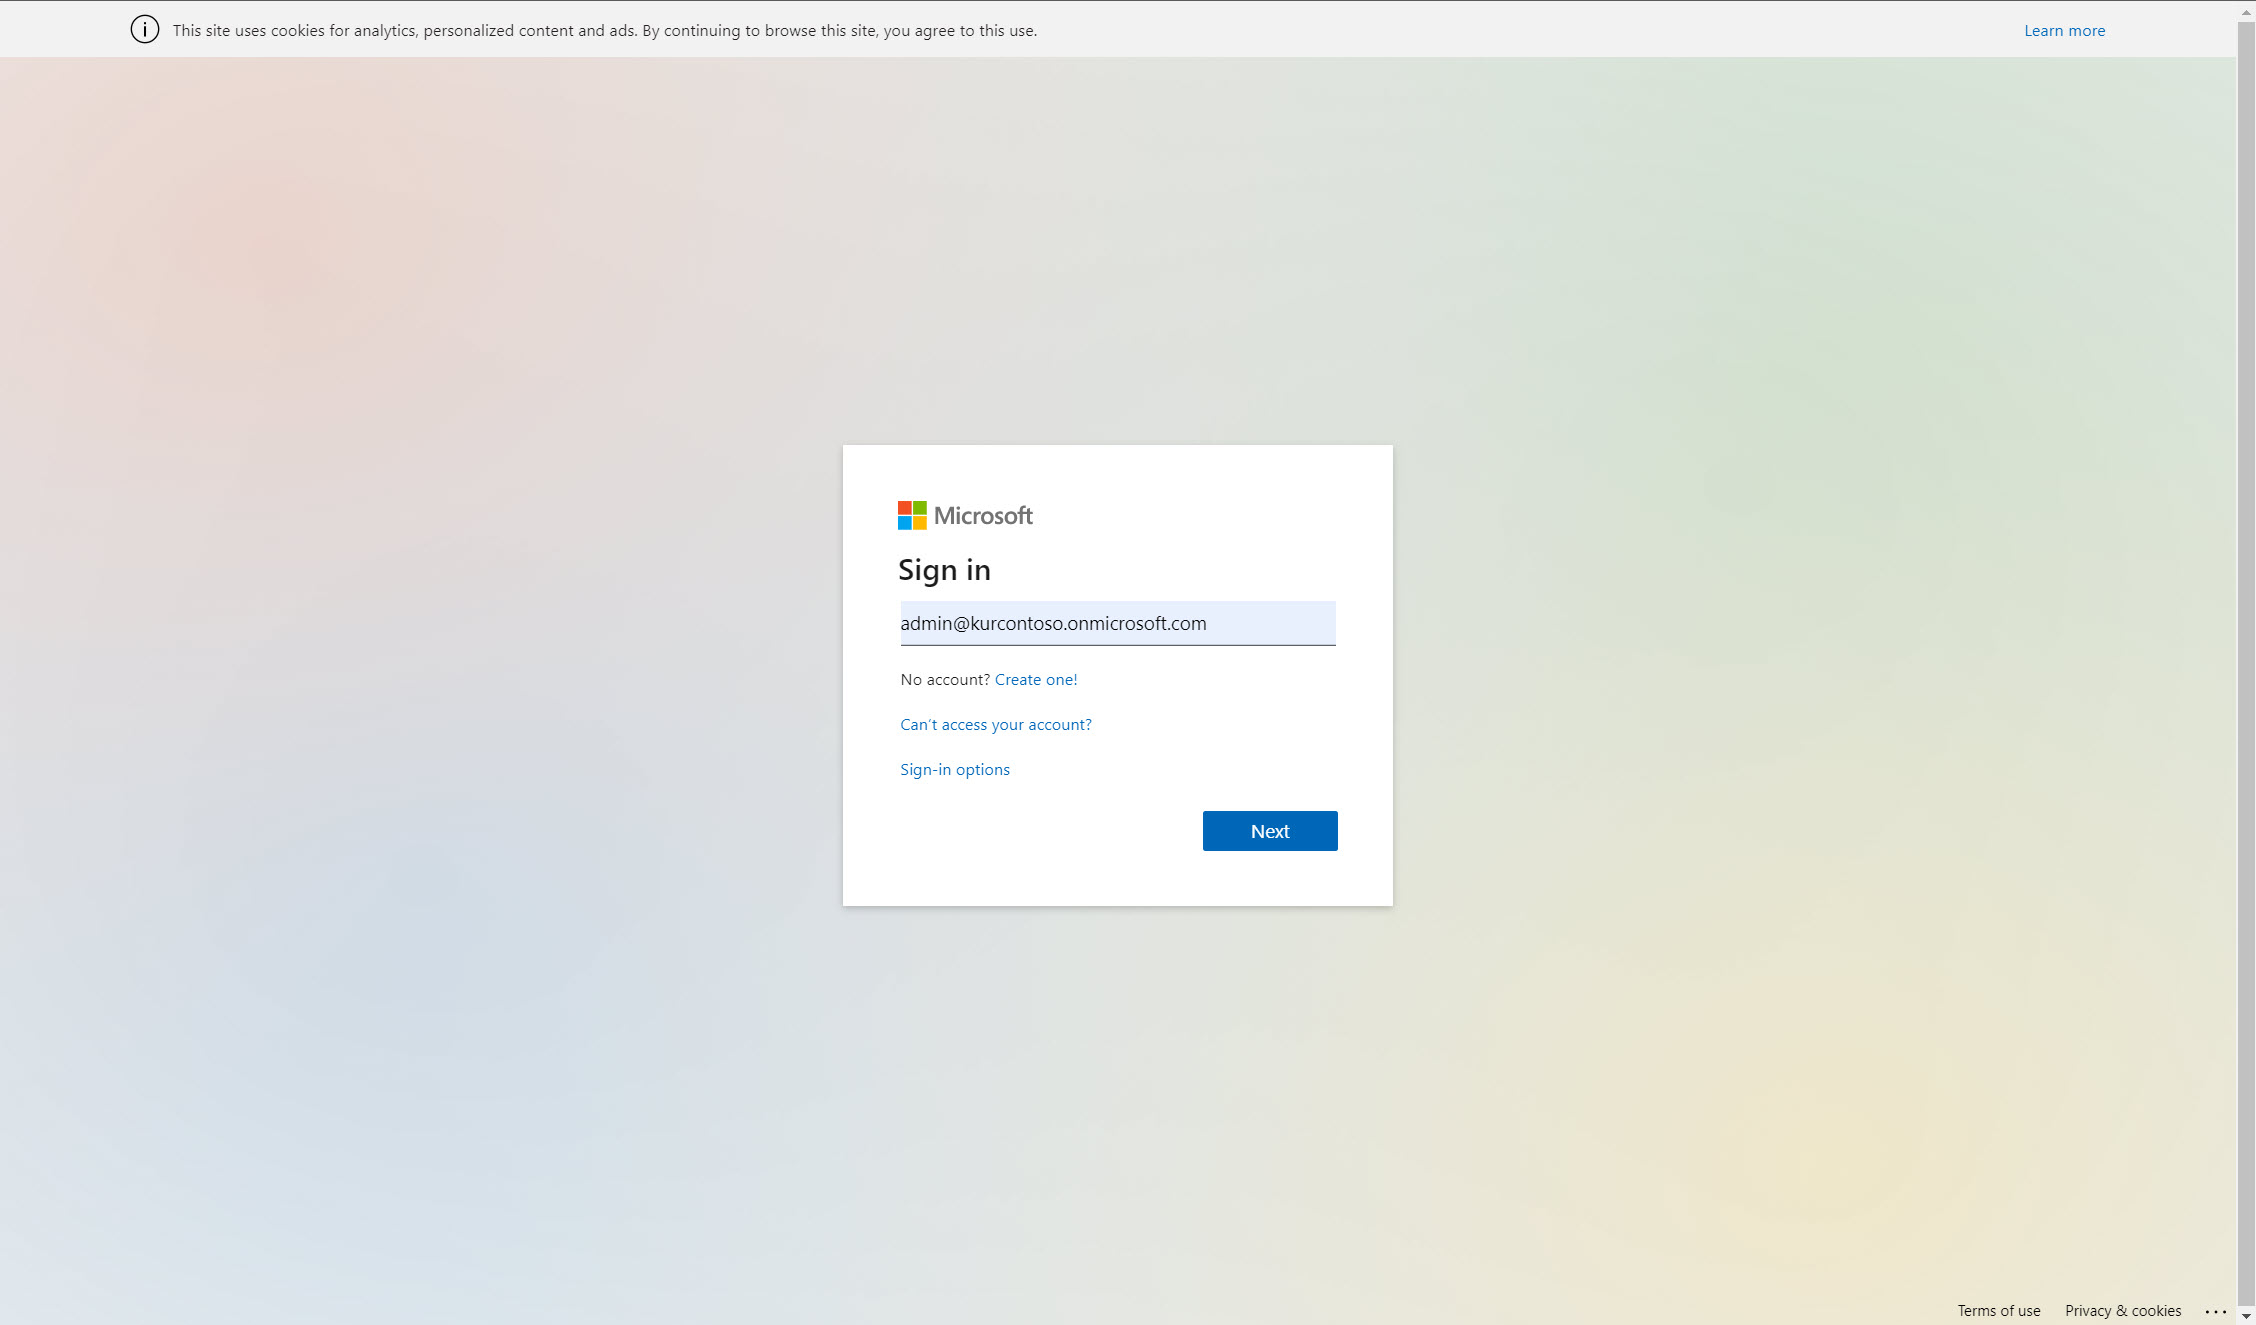
As normal sign in with your username

… and password.

Now, you can enter your token code.

Here it is important to mention that you should point out to your end users that the text on this page only talks about Authenticator App which is in my opinion not really user friendly.

My next step will be to test programmable tokens and check how simple it is to enroll them.

Follow me

0 Comments

Leave a Reply

Avatar placeholder

Your email address will not be published. Required fields are marked *

This site uses Akismet to reduce spam. Learn how your comment data is processed.