In part two of this post series, I will explain how we could solve our problem with ConfigMgr Settings Management and the MiniWebService, which is available for free.
Part 1 – Background Information
Part 2 – Solution Overview and installing netECM:MiniWebservice (This Post)
Part 3 – Creating ConfigMgr Settings Item
Part 4 – Retrieve the passwords with PowerShell
Overview
This solution will use a PowerShell script, which is implemented in a ConfigMgr Setting Item to generate a random password, encrypt the password and save the encrypted password to the netECM:MiniWebService. After that the unencrypted password is set for the local admin account.
The unencrypted password is never saved to the harddisk or transfered over the network. It’s only available in memory when the PowerShell script is running. The encryption is based on the RSA Asymmetric Encryption.
If you need the password later you can get it with a PowerShell script, which can be included in the ConfigMgr console or can be used standalone. It’s also possible to get the password by custom code for your ownl helpdesk tool.
Installing the MiniWebService
Download the actual version of the netECM:MiniWebService from our Homepage.
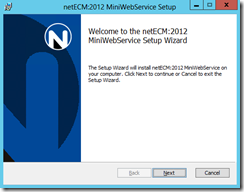
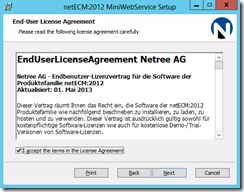
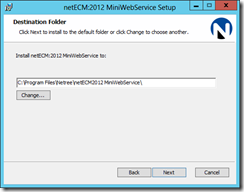
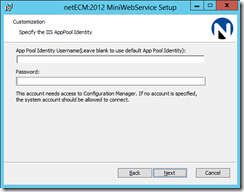
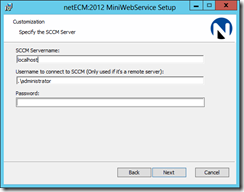
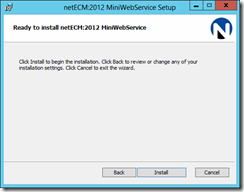
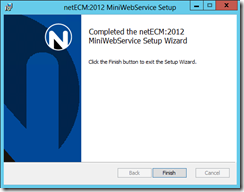
Start the Installation:
Test the web service
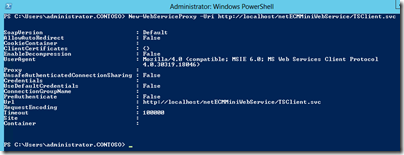
Open a PowerShell console and type the following command:
New-WebServiceProxy -Uri http://localhost/netECMMiniWebService/TSClient.svcIf you get a message like these, then your service is ready to use:
Part 3 of this blog bost will be released soon and you can continue implementing the solution in your environment.
- Microsoft Sentinel ASIM Parser demystified - March 31, 2024
- Enhancing Network Security Insights with IDS/IPS of Ubiquiti Dream Machine Pro and Microsoft Sentinel - March 10, 2024
- Ubiquiti Dream Machine Pro Logs to Microsoft Sentinel - February 6, 2024




1 Comment
Important Feature Change: Password change with GPO’s no longer possible KB2962486/KB2928120/KB2961899 – Part 1 - Workplace Management Blog · February 12, 2016 at 13:07
[…] Part 2 – Solution Overview and installing netECM:MiniWebservice […]